Diamond Star Above Ground Pool
Installing An Oval Pool
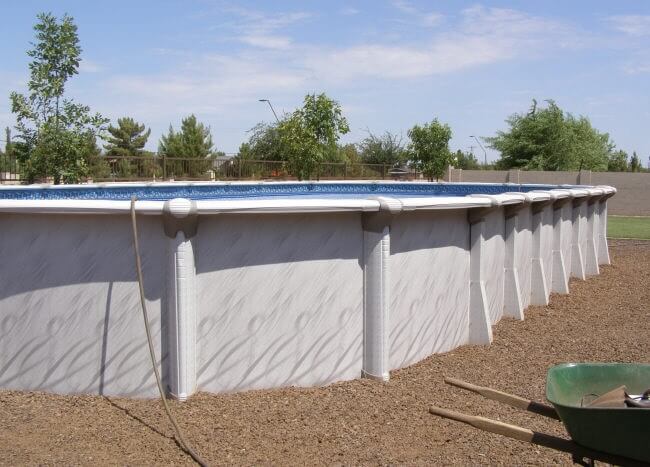
This page discusses the installation of a 21' x 43' Diamond Star Above Ground Pool by Wilbur International. Wilbur International makes pools under many different names like Sharkline, Voque, Atlantic and Seaspray.
In the early days of using resin to make above ground pool parts some of the Wilbur companies completely overdid it. The parts were so poorly designed, and over designed, they were a real pain to assemble. Resin sleeves for the bottoms of the uprights that were supposed to just snap into place but never did are just one of the many not so good ideas we had to deal with.
This pool, while still using resin, finally got it right. The decoration pieces for the top connector covers snap into place very easily. The resin rails actually stay in the resin footplates in a snug, yet manageable, fashion. It is a nice looking pool without the excessive use of little decoration pieces that have no purpose and are a pain to install.My only complaint with the Diamond Star above ground pool, as with most Wilbur pools, is the lack of quality screws used in the installation. Steel screws that would stick to the magnets in our drill tips would be nice. Screws that would go into place without stripping out half the time. I've never been a fan of cheap aluminum screws where a good third of them wind up on the ground because they stripped out before they were tight and had to be removed with vice grips.
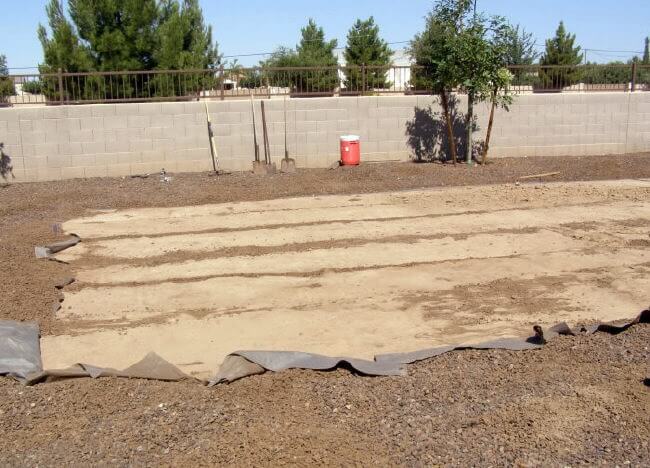
With that said, let's install a 21' x 43' oval Diamond Star Above Ground Pool. This yard had rock landscaping that needed to be removed. When the rock was moved the ground was then leveled.All the images on this page can be clicked for a larger view.
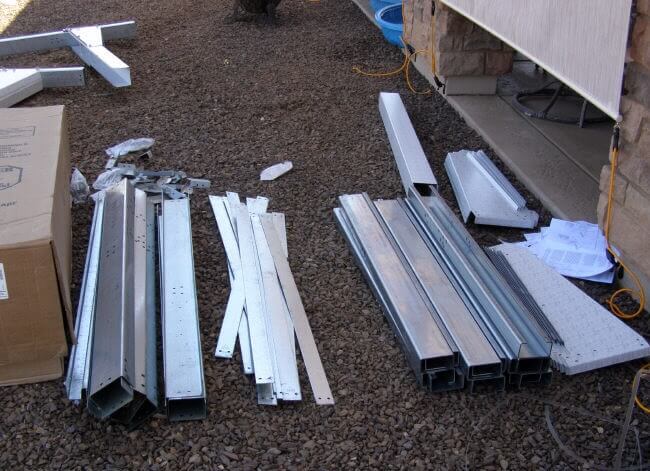
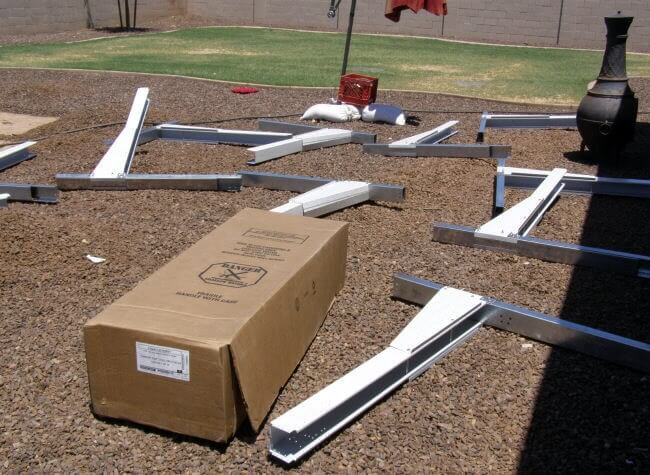
Unpacking and sorting pool parts is the next job. This pool comes packed in many boxes and it should all be laid out and sorted, this gives you a good idea what you have to work with. It's also an excellent time to find out if you are missing anything.
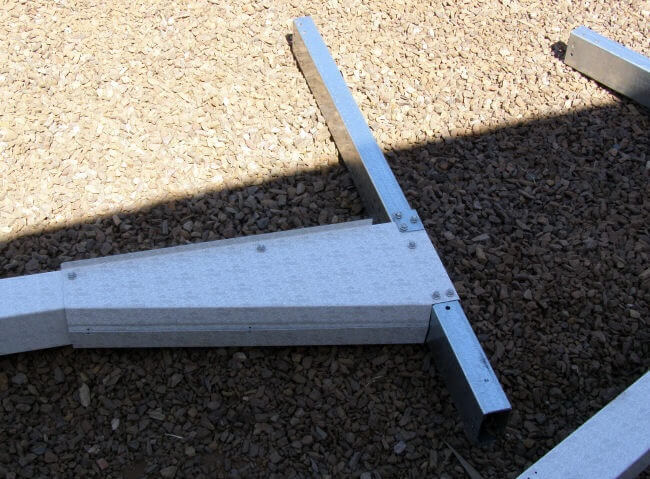
The brace assemblies are the first things to be built. It is important to follow the instructions very closely when putting these together. There are little gusset plates that have to go on each side, and yes, they are important. The instructions will also tell you the bolts going into the uprights are shorter than the ones going through the channel assembly. These shorter bolts are not packed in the same boxes as the brace parts and other nuts and bolts but if you don't use them you will run out of longer bolts before the braces are finished.
It was nice to see how easily all these pieces went together. They are heavy and awkward but the machining for the bolt holes was perfect. It is no fun having to re-bore every hole before a bolt will go through five or more pieces of metal. That's the case with some brace assemblies, but not with these. Every hole was machined perfect and the bolts went through easily, with only a slight tap of the hammer on occasion. Notice how we have laid all the assemblies on their sides when they are completed. When they are standing up the slightest breeze can knock them over. This can cause scratches on the uprights and torn skin if they happen to land on you.
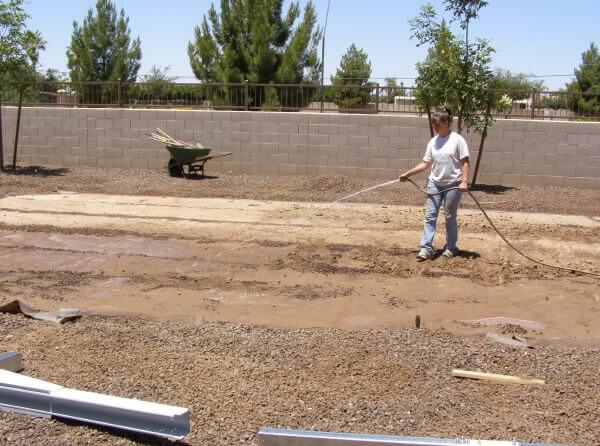
Soaking the ground a day or two in advance of digging the brace trenches can be a big help. Damp soil digs easier and also packs in better around the braces once they are set in place. When I set up a pool job I also ask my customer to water the pool area a couple days in advance of our arrival, unless they have desert landscape. When rocks need to be moved I would prefer doing that first, and then watering the ground, if needed.
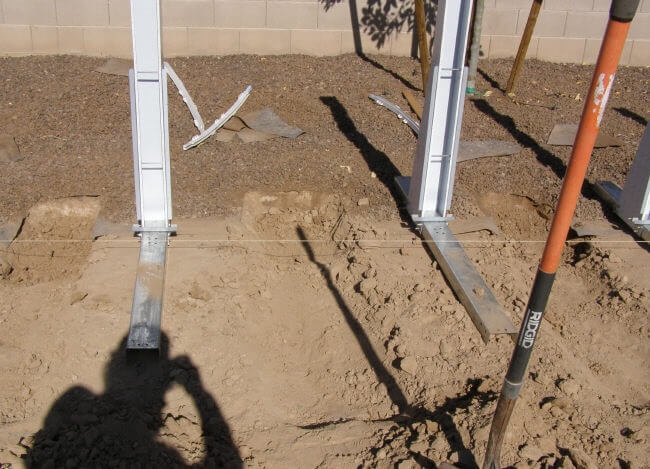
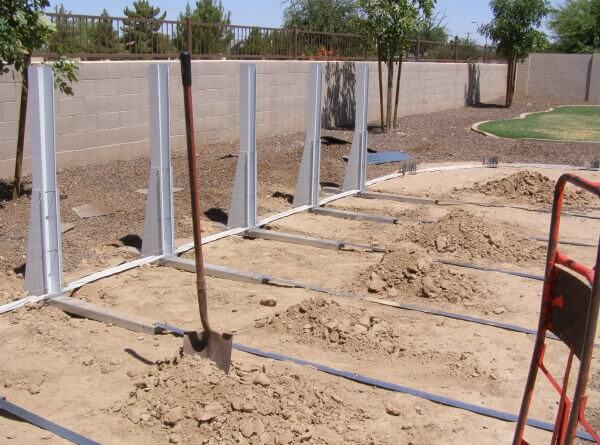
Before any digging is done the braces for the entire side are set in place. We connect them all with the bottom tracks and set them against a string to keep them all inline. Using a string on one side assures that when you are finished your pool sides will be straight. When the side is set just the way we want it we mark where each trench will be. Each brace then gets moves aside while the digging is done. These trenches measured 2 1/4", the thickness of the assembled bottom channel. The rear section of each trench is dug deeper for the 4" thick block to sit in.
These are the finished trenches. We use a laser level at this stage so that when the block and brace is set into place only minor leveling is needed, if any. When the trench and block are properly leveled the brace can be set into place and your reading will be the same at the front of the channel and the rear. Every channel is level front and rear. On this pool that means fourteen brace assemblies all perfectly level and all sitting on blocks.
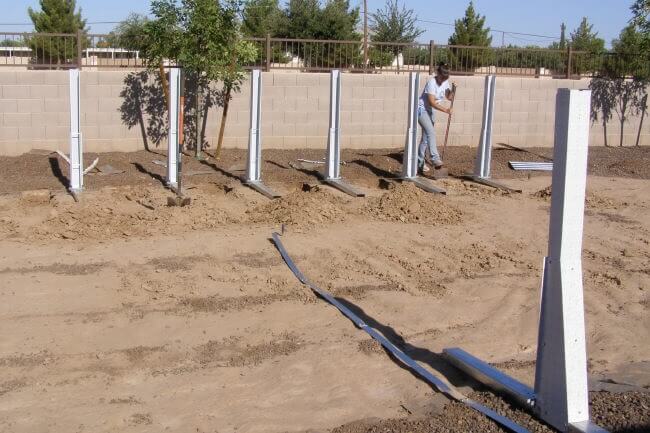
The braces on this side have been set back into the trenches, the level checked, the tracks back into place and we are ready to lay out the other side. It is critical that you lay the opposite side out square with your first side.
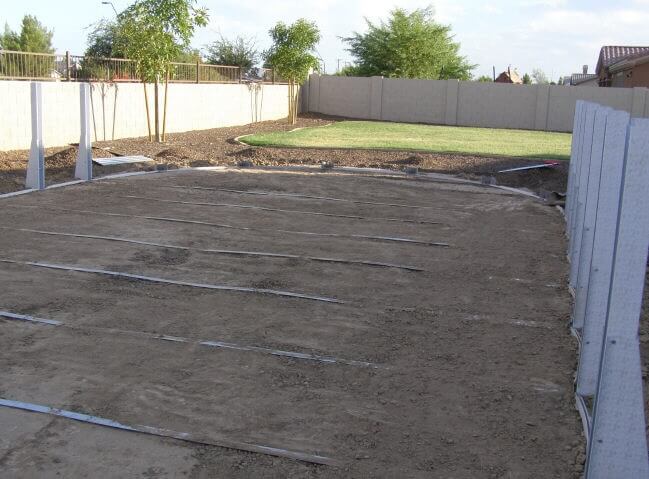
In order to square one side off the other you need to run a tape measure from the end post on one side to the opposite end post on the other side. You then go to the other ends and measure again, these measurements need to be the same. If not the side you are about to dig needs moved one direction or the other to get the measurements the same. This photo shows both sides of the braces set and backfilled.
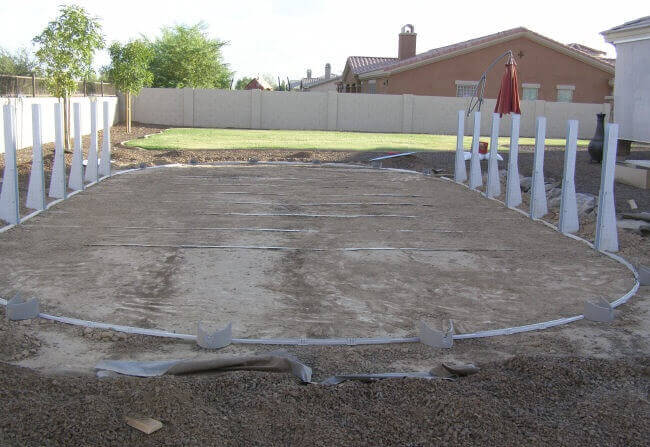
Once the sides are set the end rails get laid out and connected to the footplates. Each of these plates are laser leveled to match the level of the side braces. The ground between the footplates is leveled also so there are no dips or high spots under the pool bottom rails. We now have all the braces set, the end rails set, and all the ground in the pool area level and raked smooth.
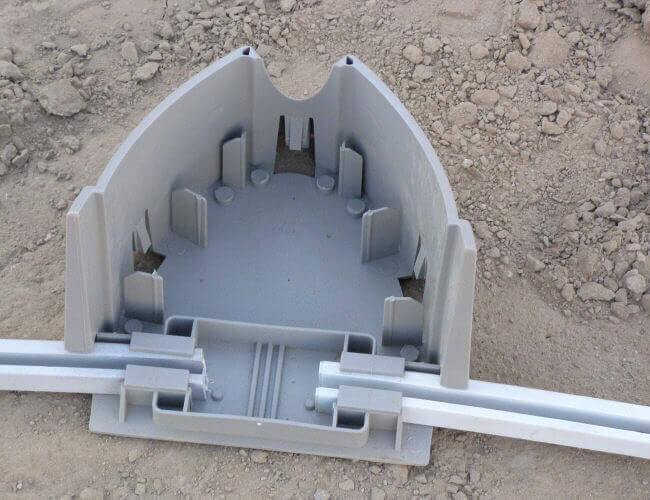
This footplate close up shows how the bottom rails are pushed in and up against the stops. The distance between the bottom rails and the stops is called the "gap" I talk a lot about. While the instructions usually talk very little about it, all pools have a gap between the bottom rails and the stops. The instructions for this pool just says this is the place for adjustment to make the wall fit properly but they do not tell you to actually set a gap. The pool bottom rail gap is always a guessing game but the key point is the gap should be the same on all the footplates. That means if you unroll the wall, and have several inches too much, you should roll it back up and make the gap larger on all the footplates, not just the last one. On this pool I set the side bottom rails into place fairly loose and used a very small gap at the ends. I wound up with less than an inch of extra wall that I could easily make up by adjusting the gap on only one end of the pool.
Follow the link to see the rest of this Diamond Star Above Ground Pool Installation.
Check here for our Arizona installation prices.
Find more photos and installation tips on some of my other Pages.
Above Ground Swimming Pool Installation
