Expandable Liner Installation
Liner Installation Tips

Assuming the pool is not all the way in the ground and there is no decking against the top rails lets prepare this pool for a liner. To do that you need to visit this liner installation page. You should also smooth the pool base as best you can and then get out of the pool.
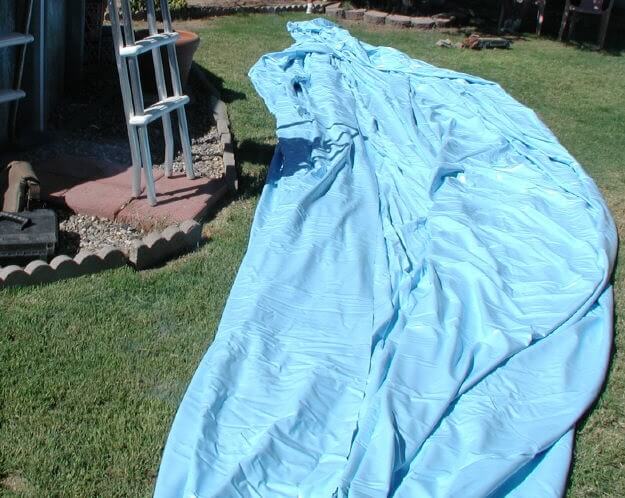
When the pool is ready you should unroll the liner on a nice grassy area or a freshly swept driveway. If the pool is an oval locate the two ends and pull the liner tight. With a round pool there is no end to end. Now fold in the sides and make it look like a big, long cigar. Before you take this to the pool make sure all of the rough edges and sharp points on the pool have been well taped. We use a lot of duct tape to keep the pool framework from tearing the liner. The pool in the photos is a Doughboy brand pool, designed for this type of installation where no taping is required except maybe holes drilled thru the top rail to mount the ladder.

Clicking the images will show a larger view.
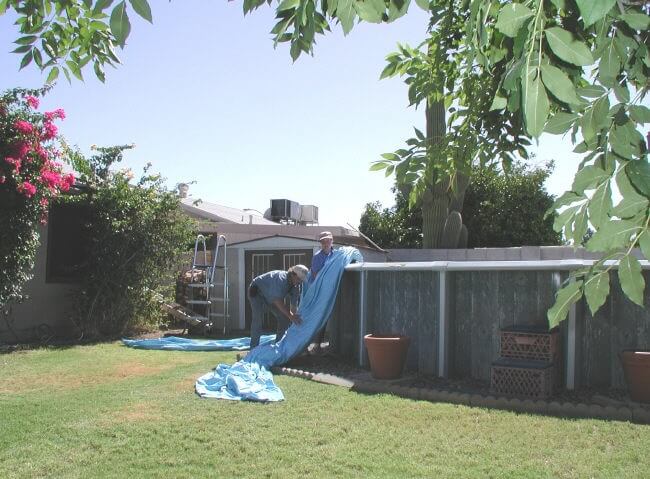
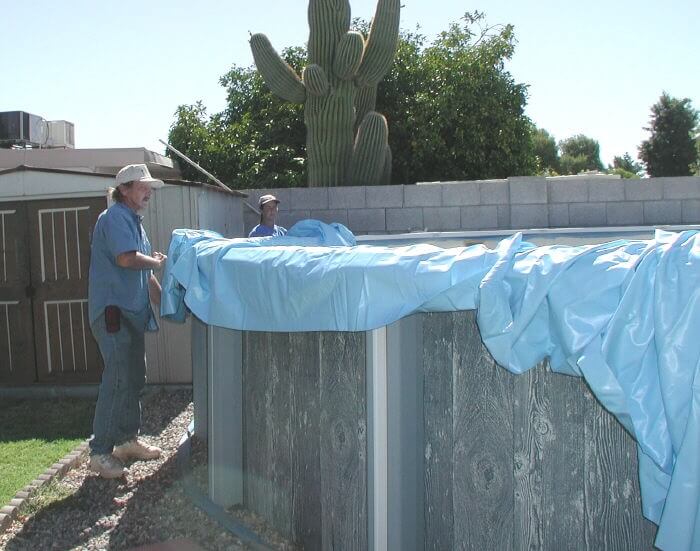
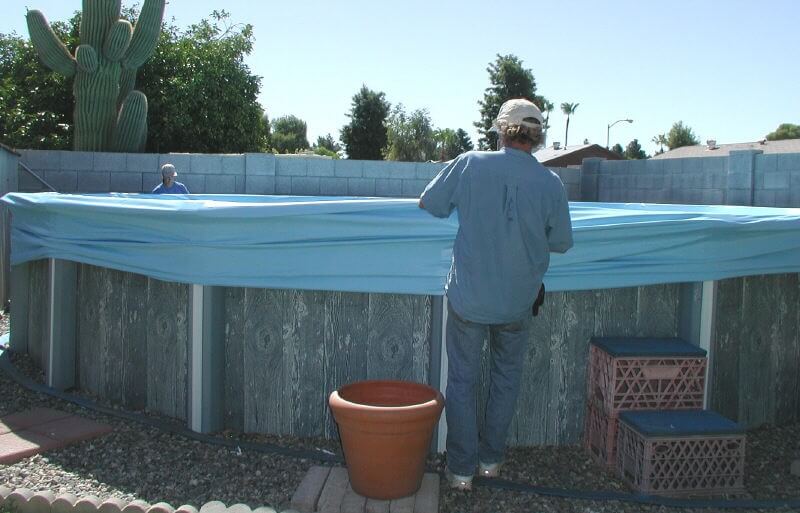
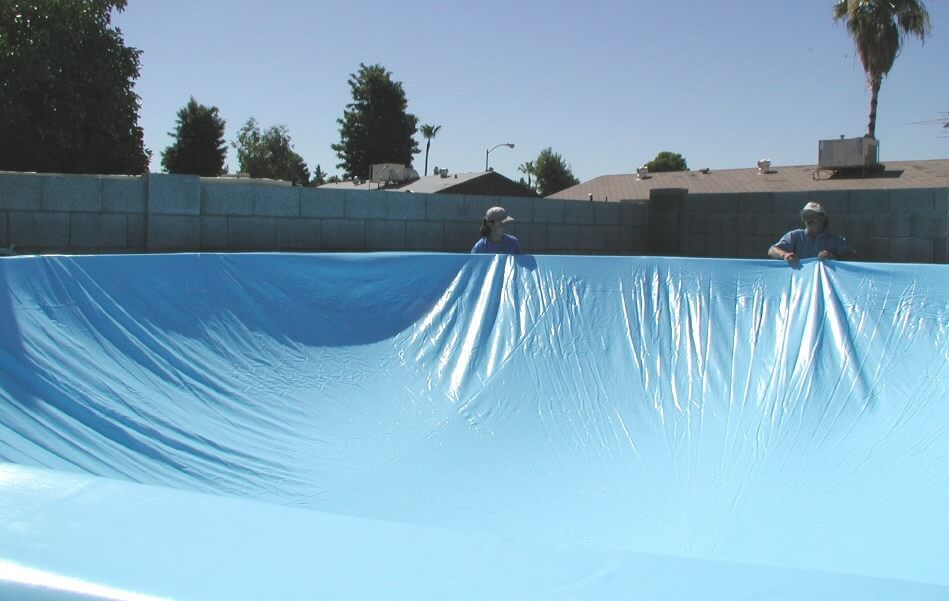
In the expandable liner installation photos below we are carefully lifting the liner into the pool and starting the process of pulling it up and over the top rail. The last photo shows all but the last rail pulled over.


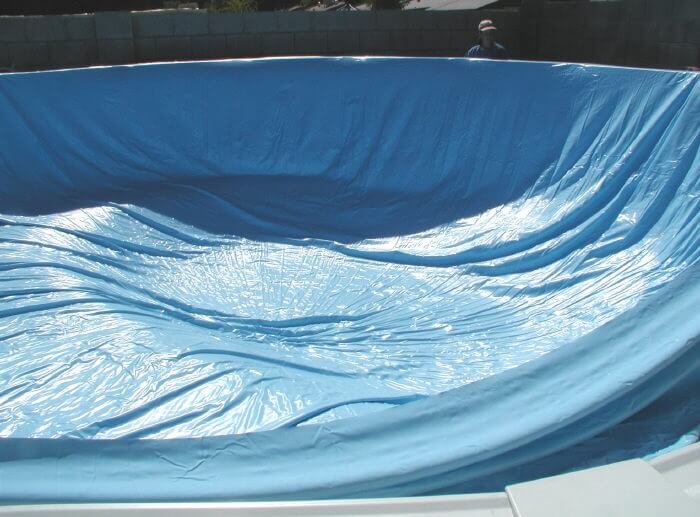
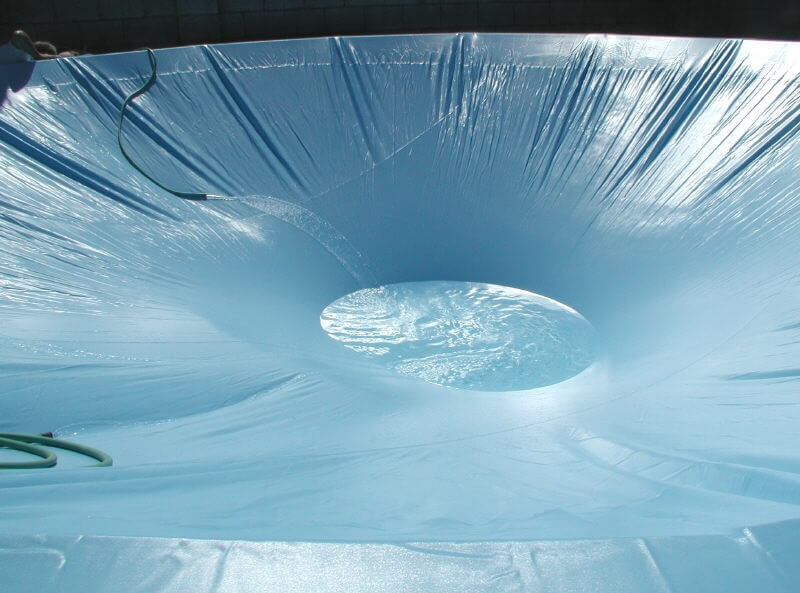
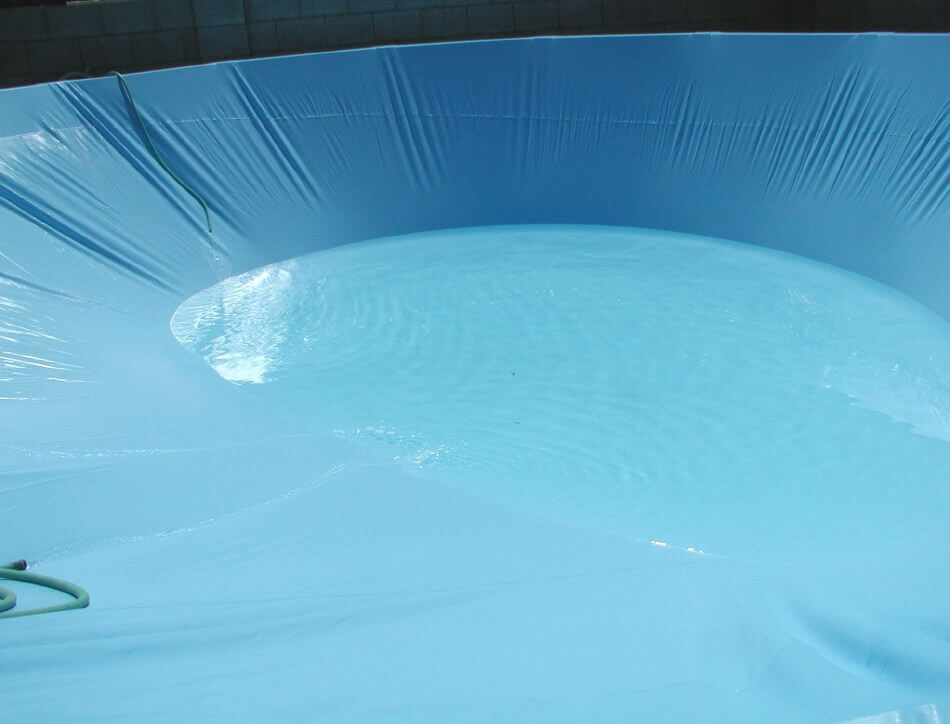
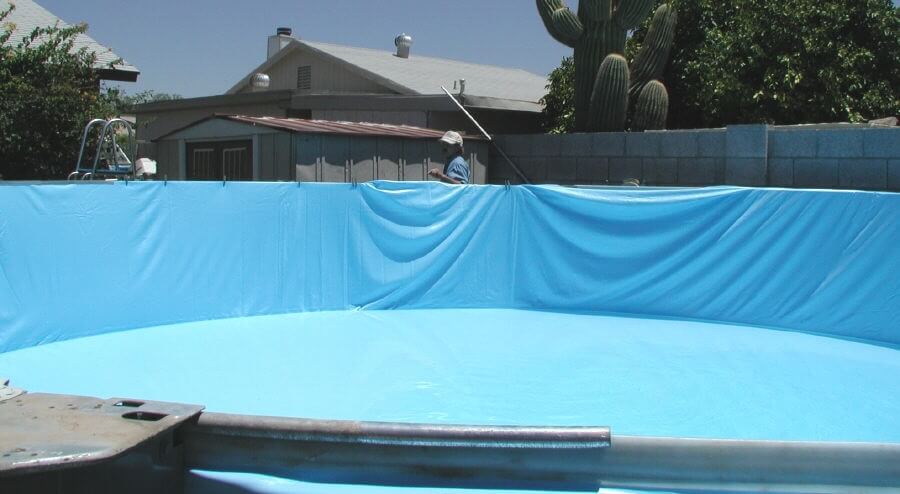
We are now going around the pool time and again, stopping at every support post, and pulling the liner up a little at a time. We will keep doing this until the bottom seam is about six inches down from the top rail on the inside of the pool. The photos below show the liner just before we start the water and a couple times while it is filling. As the water is filling the letting down process is just the opposite of the pulling up. Every fifteen to twenty minutes you go around and release a little pressure at each post. The liner needs to stretch so do not release too much or too often. It should be tight at all times.


When the water is just a few inches from the pool wall it is time to shut the hoses off and finish the pool. Take just a few rails off at a time. Pull the liner up tight and straight. Fold the excess liner back into the pool so that only an even two inches is left on the outside. Use cloths pins to hold the liner in place until the coping can be installed. In the photo at right I am in the lead, removing rails and pinning the liner. Rachael is following behind installing the coping and putting the rods over them. She then reattaches the top cap so the pool is secure from blowing down or collapsing. There is never more than a few rails worth of bare wall at any one time. We can do this in a wind storm, and we have many times, without a problem. If we were to remove all of the rails at once the pool would blow over with the slightest breeze. When the liner is set, turn on the hoses. When the water is just below the skimmer and return they can be installed.

We do pool and liner installations all over the state of Arizona. Check here for prices.
Below are some more of my illustrated installation pages with plenty of help and advice.
Hire The Pool Pro
Contact For Installation Quote