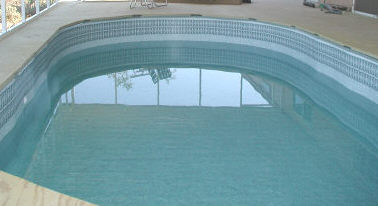
Beaded Liner Installation
A Good Method To Use
The first step in a beaded liner installation would be to remove the old liner and prepare the pool for the new one. Follow the tips on this page to make sure your pool is ready for a new liner. If you do not have a beaded liner you may need this page for for an overlap liner installation. If you are not yet ready for a beaded liner check the beaded liner conversion page.
Begin by placing you liner in the pool and unfolding. The utmost care must be given to making sure the liner is perfectly centered in the pool before you start inserting the liner bead into the bead receiver. With a round pool you have two seams to deal with. The bottom seam goes around the base of the pool. It should be located near the cove area. It may fall at the base of the cove, at the top of the cove or a few inches away from the cove. The only thing that matters is that it is in the same position all the way around. Do not start with the seam three inches up the wall on one side and three inches from the cove on the other. Take your time here. Those inches out of center add up to wrinkles later on. This pulling and tugging, a little here and a little there, is also smoothing the wrinkles out of the center of the liner. When this step is done the floor of the pool should be pretty smooth and the bottom seam centered around the pool.

With a perfectly aligned liner it is time to start inserting it into the bead receiver. With a round pool start at the vertical seam and make it plumb, straight up and down, then start inserting the liner into the bead receiver. With an oval start at one of those floor seams. With the seam in the perfect location pull the liner straight up. Start feeding the bead into the receiver and work your way back to the starting point. With an oval pool you can make adjustments at every floor seam location. You can bunch the bead a little or you can stretch the bead a little to keep the floor seams in alignment. With a round pool you need to get back to the starting point to see how the liner fits. Sometimes a beaded liner installation will require you to back up quite a ways to make the needed adjustments. With excess liner you would back up and try bunching the liner as you insert it into the receiver. If you are short of liner some stretching is required. The more off you in either direction the farther you back it up and try again.
When all of the liner is in place it is time to recheck the bottom seam and give the base one more smoothing. Now is a good time to have someone on the outside hook up a shop vacuum to the pool. Tape some cardboard over the skimmer opening. Insert the vacuum hose into the return opening and seal with tape. Turn the vacuum on and watch how it starts to smooth the liner. With the bottom fairly smooth and the liner well centered start adding water. While the vacuum works to smooth the side you will need to finish smoothing the bottom. Push all of the remaining wrinkles to the sides of the pools. When the pool has about six inches of water in it the shop vac can be removed. When the water is just below the skimmer and return openings these items can be installed. At that point you should be done with your beaded liner installation.
AGP Pool Help - Everything on this site about Above Ground Pools