Above Ground Pool Section
Aqua Leader 12' x 24' Pool Installation
This is an Aqua Leader above ground pool, by parent company Wilbar, installed by myself and a helper in Arizona. We install pools all over the state. More photos and insights into the Aqua Leader oval installation can be found on this page, LX Oval Pool Installation. The Lx line of pools is meant to be salt water friendly and with almost all slat water pools a stainless steel service panel is included. It is overall a very well constructed pool and user friendly to install. For Arizona above ground pool installation information visit Installation Prices.
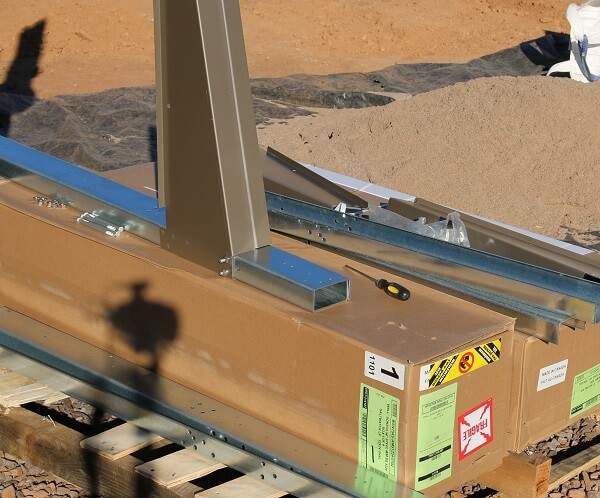
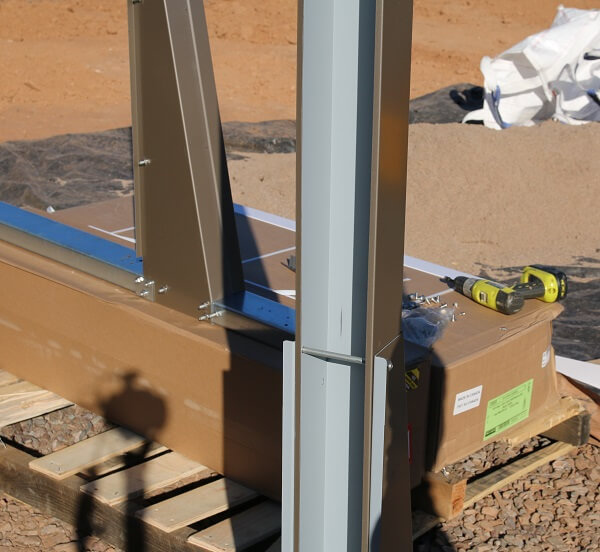
Our first job is always that of doing the ground prep, making sure we have a flat, level area to install the pool. This yard was an easy one with only minor leveling required. The customer had removed the landscape rock leaving us with a flat dirt area.Assembly of the side braces is the next step in this pool installation. It's a fairly easy process but always refer to the instructions. It's a good idea to install all the bolts before tightening any of them.

One at a time the brace assemblies are being assembled. My helper is usually doing this part while I am setting up my string line, taking some measurements and digging trenches for the brace assemblies and the blocks that go under them. We are going to set one side against my string line and then work across to the other side.

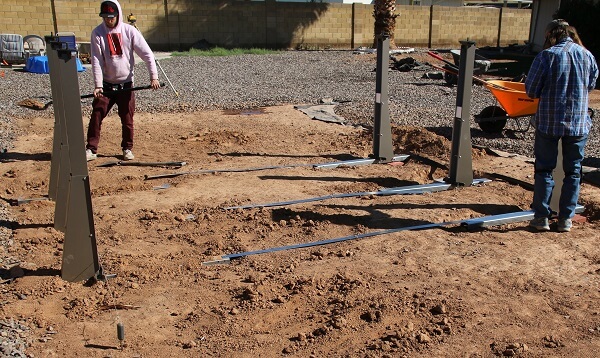
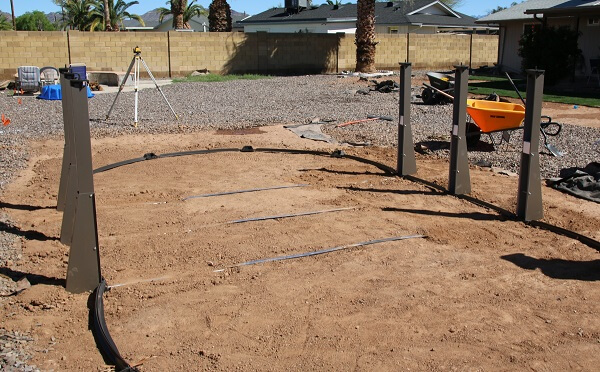
This pool has three braces on each side that sit about 41" apart, center to center. One side of pool has been set, leveled front and back and a cement block under the rear of each assembly. I always use the side bottom rails as spacers when setting the braces. I set the center brace first in the dead center of the 24' length, then the other two are set. I am then going to connect the the straps so I know the proper distance where to next three braces will be set. With the straps in place and the bottom rails in place I square the two sides. Only when I know exactly where these braces will sit do I start digging the trenches.

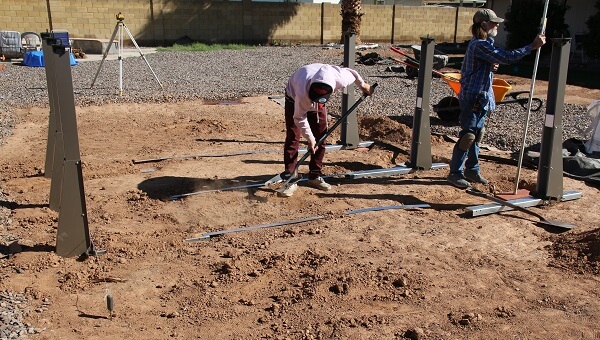
Here I am using the laser level to check the final position of the next set of braces to be set. Front and back they all need to read the same level as the overall grade of the pool.

The braces are set and the end rails are connected. This line of pool has three different lengths of bottom rails, the four sides, the four transition rails and the rest of the end rails. The transition rails, the ones coming off the four end braces, have two different style ends, be sure to get those positioned correctly. One end fits into the side brace while the other end fits into the footplate, the same as the rest of the end bottom rails. Each footplate is then leveled, making the entire pool perfectly level.

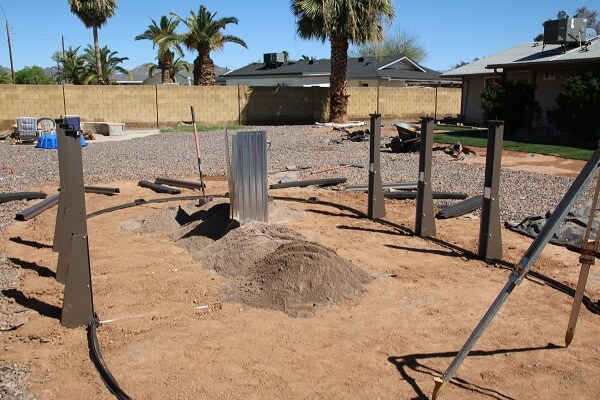
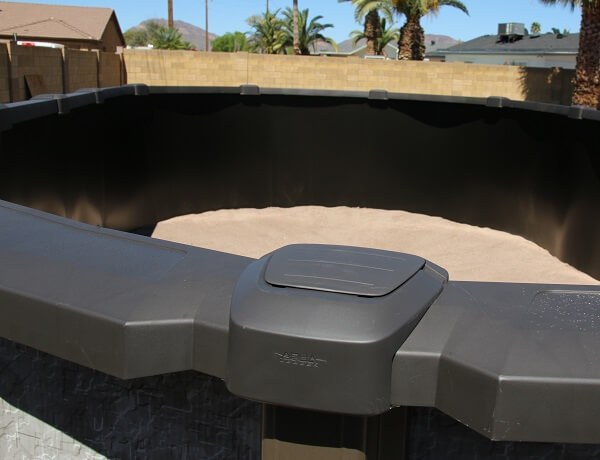
The pressure plates are in the pool ready to be laid out a little later. the sand is now being brought in and piled down the center of the pool, well out of the way of where the wall needs to be rolled out and installed. It can become very difficult to install a pool wall into a bottom track that is full of sand.

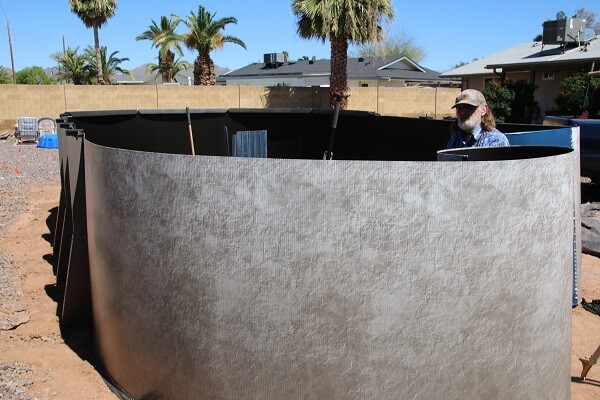
The pool wall is being installed and the framework of the pool set up at the same time. How much structure we build and when depends a lot on the weather conditions. With an oval pool be very careful to secure the sides, they tend to want to fall over, even without a breeze. We use the top plates on each brace as soon as the wall is firmly in place. What we do on the ends depends on the wind, if it is gusty the uprights and top rails get installed as we work around the pool. On a still day we may just support the ends with a few shovels leaned against the wall on the inside of the pool. As soon as we know the wall meets up at the end the way it should the pool frame gets assembled.

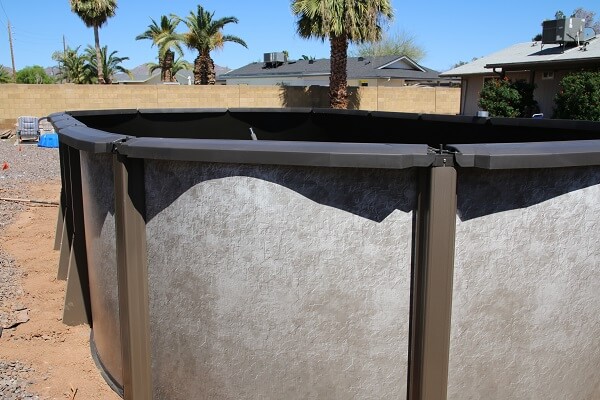
Installing the uprights and top rails at this time allows me to see that the sides are straight and that everything fits the way it should. It also prevents the pool from blowing over and it is a step we do before installing the liner, since we will drape the liner over this framework.

The pressure plates have been set in place, the sand spread out and smoothed, and the pool is ready for a liner.

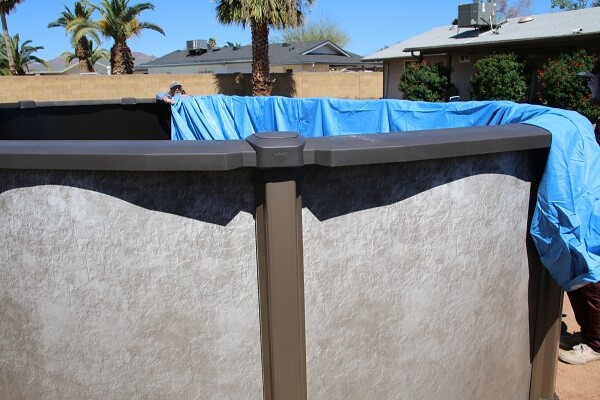
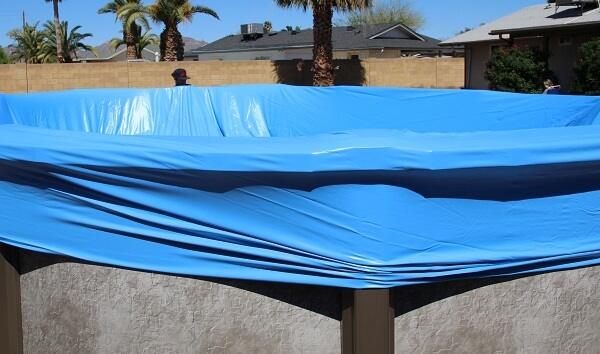
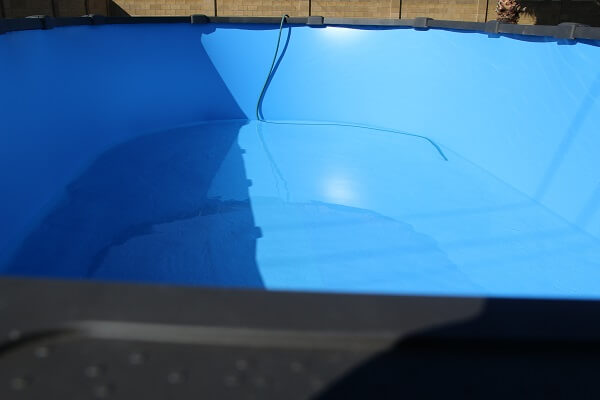
This shows the liner being placed into the pool. Before this can happed the liner is opened up on a smooth service, in this case the front driveway. A sunny location is also desirable. Once opened up it is rolled so that we can carry it to the pool and set it in.

All this is done from outside the pool so that once the sand is smoothed no one gets back into the pool until it is full of water. We have pulled the liner over the top rails so the the bottom is smooth and the seam that goes around the bottom part of the liner is the same distance from the top rail all the way around. It is also very important with an oval pool to make sure the end to end seams are perfectly centered. With a 12' wide pool one seam runs down the center of the liner from end to end. This seam needs to be in the exact center of the pool at each end.

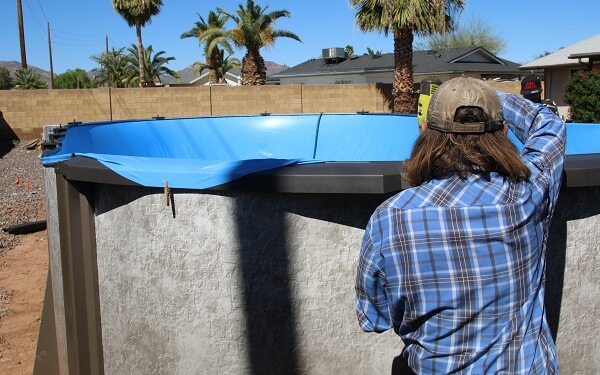
When the water is near the edge of the pool we remove the top rails and fold the liner into place. The is done a few rails at a time never letting the wall have a chance to blow over. At the far end of this photo shows the coping has been installed and the resin top rods installed, this is plenty of support to keep the wall upright.

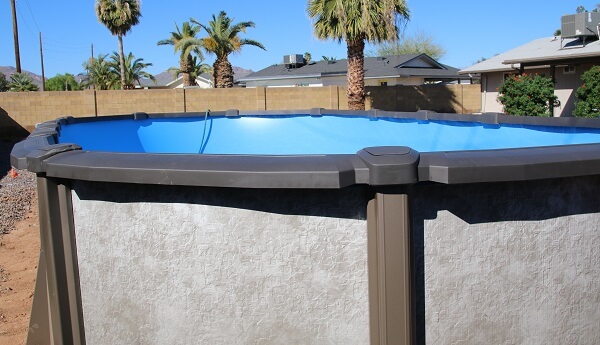
Notice the even overhang of the pool liner on the outside of the pool. Any excess liner has been folded back into the pool. This gives the outside of the pool a nice clean look.

The top rails then get installed. My helper is usually doing this while I am finishing with the skimmer, return and filter setup.

A finished pool and another happy customer.

Below are some more of my illustrated installation pages with plenty of help and advice.
Oval Pool Installation | Atlantic Above Ground Pool
Oval Pool Deep Ends | Quest Oval Pool Installation | LX Oval Pool Review
Custom Search
Hire The Pool Pro
Contact For Installation Quote