Building a Patio Cover
Tips For The Do-It-Yourselfer
When you think about building a patio cover you first need to decide what material you will be working with. There are so many choices. My favorite material to use is aluminum. Aluminum awnings are easy to install and are, for the most part, maintenance free. They will stay looking great for many years without painting or staining. You will never get termites when using aluminum. Using aluminum when building a patio cover is a great choice.
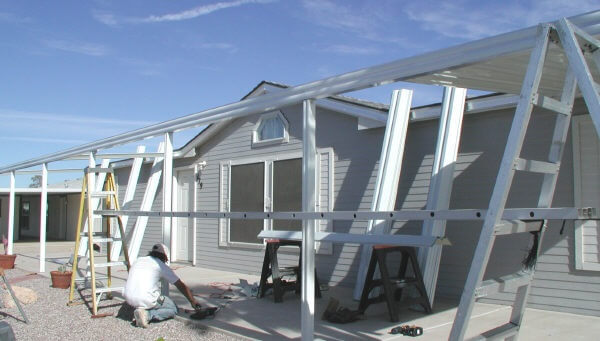
Aluminum awnings are made up of several different components. The hanger is the piece that attaches to the home. The gutter holds the panels at the other end and also collects the water and sends it to the downspouts. The downspouts are normally attached to the columns that are bracketed to the concrete or dug into the ground on safety stakes. The ends of the awning are capped with side fascias and flashing is used at the hanger to seal the awning against leaks.

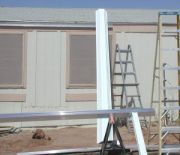
You are now ready to stand the awning up. This is a two person job. At one end of the awning set up ladders at the hanger and the gutter. Carry up a panel and screw it to the hanger with one screw. The person at the hanger then climbs down and hands the gutter to the person at that end, while walking down the hanger lifting it into the air. Once the pan is screwed to the gutter the gutter man moves his ladder to the other end and holds the gutter. The hanger man moves his ladder and takes the pan up and again use one screw at each end. Make sure the awning is square and you are ready to run out the panels.

Start by locking into place the first 5 panels. Hold these in place with just a few screws. Then recheck and make sure it is square. Now you can go back and put a screw in every pan valley. Finish running your pans three or four at a time and then screwing into place. With that done cut to fit your side fascias and screw them in place. Next you should anchor the awning. Either Rawl plug it in place onto your concrete slab or dig holes and pour redi-mix around your ground anchors. Next you install the downspouts and the last thing to do is climb up on the home and install the flashing. Seal it good and the awning will not leak.
Visit this page to see photos of an aluminum awning being installed, it is more help with building a patio cover. For a free installation estimate use this form.